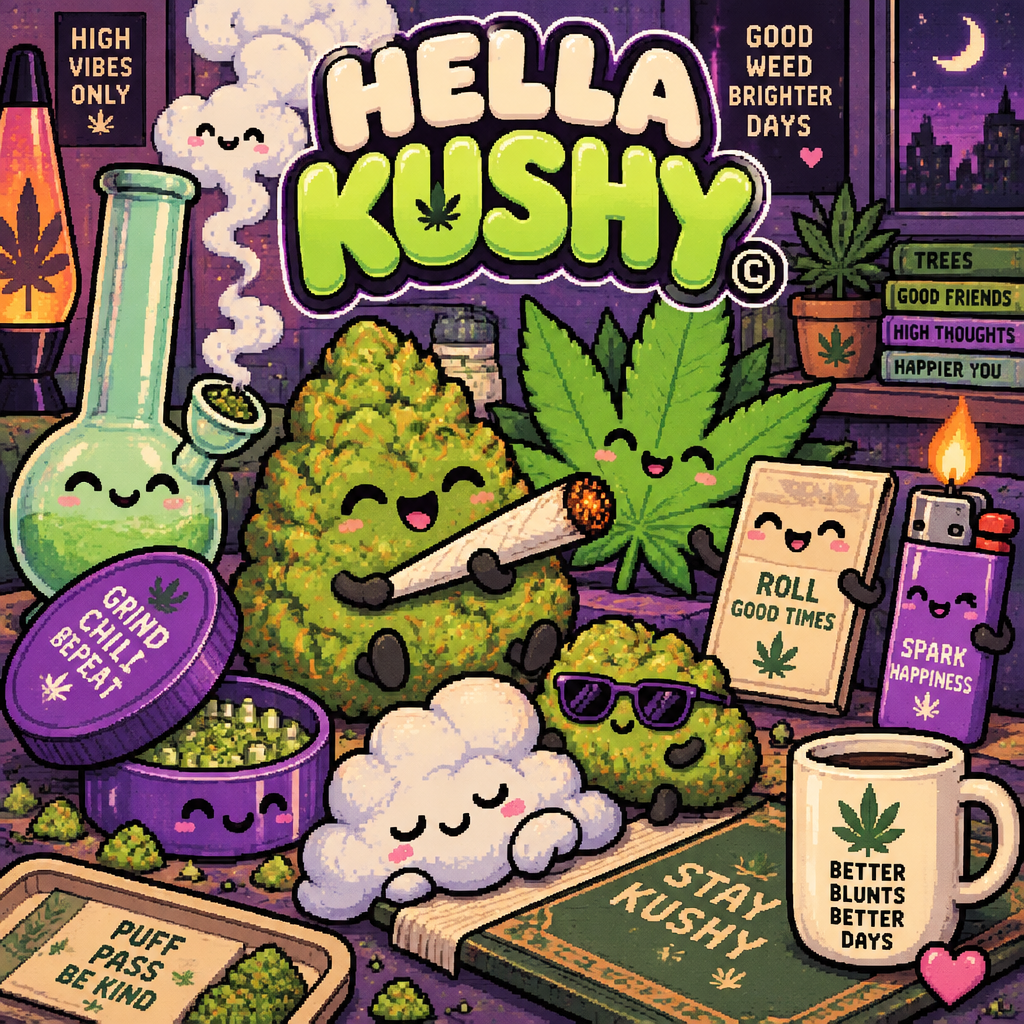
Convert the reference image into an original kawaii cannabis-themed illustration while preserving the overall playful composition and simple, charming aesthetic. Redesign every character as a unique cannabis-inspired object, such as cannabis nugs, fan leaves, buds, pre-rolls, smoke clouds, or other cannabis-themed elements. Avoid directly copying the original characters—each should be an original reinterpretation.

Add fun cannabis accessories and props throughout the artwork, including lighters, flames, smoke clouds, rolling papers, joints, grinders, hemp leaves, bongs and other cannabis-related details to enrich the scene.

Keep each character’s facial features extremely simple and cute, using the same minimal eye and mouth style as the reference. Give every character a new, unique facial expression that differs from the original while maintaining the same kawaii minimalism.

Replace all Japanese text with original cannabis-themed humor, puns, quotes, or playful sayings. Replace the primary logo with “HELLA KUSHY©”, using a bold, cute, sticker-style type treatment that complements the illustration.

Use a rich cannabis-inspired color palette featuring vibrant greens, neon lime, olive, orange,, deep purple, lavender, cream, and subtle pink hues. Include soft gradients and clean cel shading to create a polished, high-quality finish.

Convert the reference image into an original kawaii cannabis-themed illustration while preserving the overall playful composition and simple, charming aestheti…

More from the community
Convert the reference image into an original kawaii cannabis-themed illustration while preserving the overall playful composition and simple, charming aesthetic. Redesign every character as a unique cannabis-inspired object, such as cannabis nugs, fan leaves, buds, pre-rolls, smoke clouds, or other cannabis-themed elements. Avoid directly copying the original characters—each should be an original reinterpretation.

Add fun cannabis accessories and props throughout the artwork, including lighters, flames, smoke clouds, rolling papers, joints, grinders, hemp leaves, bongs and other cannabis-related details to enrich the scene.

Keep each character’s facial features extremely simple and cute, using the same minimal eye and mouth style as the reference. Give every character a new, unique facial expression that differs from the original while maintaining the same kawaii minimalism.

Replace all Japanese text with original cannabis-themed humor, puns, quotes, or playful sayings. Replace the primary logo with “HELLA KUSHY©”, using a bold, cute, sticker-style type treatment that complements the illustration.

Use a rich cannabis-inspired color palette featuring vibrant greens, neon lime, olive, orange,, deep purple, lavender, cream, and subtle pink hues. Include soft gradients and clean cel shading to create a polished, high-quality finish.
Convert the reference image into an original kawaii cannabis-themed illustration while preserving the overall playful composition and simple, charming aesthetic. Redesign every character as a unique cannabis-inspired object, such as cannabis nugs, fan leaves, buds, pre-rolls, smoke clouds, or other cannabis-themed elements. Avoid directly copying the original characters—each should be an original reinterpretation. Add fun cannabis accessories and props throughout the artwork, including lighters, flames, smoke clouds, rolling papers, joints, grinders, hemp leaves, bongs and other cannabis-related details to enrich the scene. Keep each character’s facial features extremely simple and cute, using the same minimal eye and mouth style as the reference. Give every character a new, unique facial expression that differs from the original while maintaining the same kawaii minimalism. Replace all Japanese text with original cannabis-themed humor, puns, quotes, or playful sayings. Replace the primary logo with “HELLA KUSHY©”, using a bold, cute, sticker-style type treatment that complements the illustration. Use a rich cannabis-inspired color palette featuring vibrant greens, neon lime, olive, orange,, deep purple, lavender, cream, and subtle pink hues. Include soft gradients and clean cel shading to create a polished, high-quality finish.

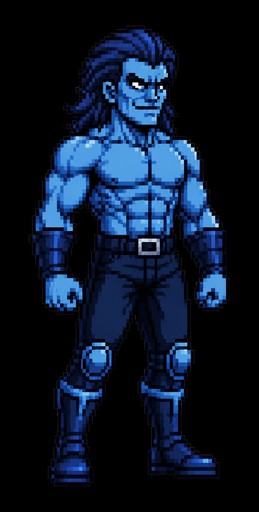
Pixel art of a blue-clad person standing against a black background.
Pixel art of a blue-clad person standing against a black background.

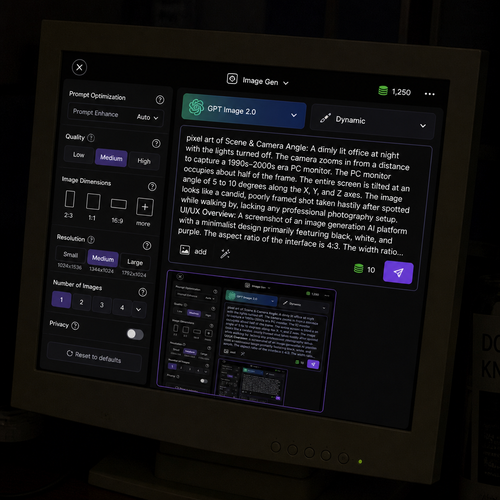
Scene & Camera Angle:
A dimly lit office at night with the lights turned off. The camera zooms in from a distance to capture a 1990s–2000s era PC monitor. The PC monitor occupies about half of the frame. The entire screen is tilted at an angle of 5 to 10 degrees along the X, Y, and Z axes. The image looks like a candid, poorly framed shot taken hastily after spotted while walking by, lacking any professional photography setup.
The screen displays the following content:
UI/UX Overview:
A screenshot of an image generation AI platform with a minimalist design primarily featuring black, white, and purple. The aspect ratio of the interface is 4:3. The width ratio between the settings panel (sidebar) and the image generation library (main content area) is 1:5.
Top Navigation Bar:
Top-Left: A close button represented by an "X" inside a circle, used to return home.
Top-Center: A simple, square icon representing image generation, with the text "Image Gen ∨" next to it.
Top-Right: An icon resembling stacked coins drawn in green, with the current credit balance displayed next to it. To the right of the credits, there is a white horizontal ellipsis (three dots). The background color of these top navigation icons is black.
Left Panel (Settings - 25% Width):
This section controls the detailed settings for image generation. Each setting group (Quality, Dimensions, etc.) is arranged horizontally, and each element enclosed in quotation marks represents a button, visually separated inside a dark gray rounded rectangle. A help icon (a question mark inside a circle) is placed to the right of each section heading.
Prompt Optimization: At the top, there is a setting indicating whether to auto-convert the prompt. A small gray text reading "Prompt Enhance" is located at the top-right of the icon, with white text reading "Auto" at the bottom-right, followed to the right by a "∨" dropdown arrow on the far right.
Quality: A section heading in small white text. Below it are three quality options arranged horizontally from left to right: "Low", "Medium", and "High".
Image Dimensions: A section heading in small white text for aspect ratio settings. Below it, four text labels are listed horizontally from left to right: "2:3", "1:1", "16:9", and "more". Above each label, a white rectangular frame visually represents the corresponding aspect ratio. The visual representation for "more" (other ratios) features a square smaller than the 1:1 ratio, with a small "+" mark overlapping its bottom-right corner.
Resolution: Below the aspect ratios, there are resolution settings with white text labels: "Small", "Medium", and "Large". Below each label, the detailed pixel dimensions (width and height) are written in small gray text.
Number of Images: A heading in white text indicating the output count. Below it, there are tabs to select the number of images: "1", "2", "3", "4", followed to the white "∨" dropdown arrow to select higher numbers.
Privacy: A privacy setting heading in white text. To its right sits a toggle switch with a light gray background and a white slider thumb.
Reset Button: At the bottom, a "⟲ Reset to defaults" button in white text spans about half the width of the settings panel.
Right Panel (Prompt & Library - 75% Width):
This section consists of the prompt input field and the generated image library.
Top Configuration Tabs (Left): A tab for the AI model selection shows "GPT Image 2.0". The background of this entire tab features a light blue gradient with a large, translucent graphic that looks like it is made of light-green glass, mimicking the GPT logo.
Top Configuration Tabs (Right): A tab for the image theme selection features a thick brush icon on the far left, followed to the right by the text "Dynamic". Both tabs feature a "∨" dropdown arrow on their right edge.
Prompt Input Field: Located below the tabs. The latter half of the prompt text overflows the text area and is truncated with an ellipsis ("...").
Bottom-Left of the field: An "add image" tab featuring an image icon next to the word "add", immediately followed to the right by a prompt refinement/polishing icon.
Right edge of the field: The required credit cost for generation is displayed as a simple number next to a stacked-coin icon. Next to it is the send/generate icon, which features a white paper airplane on a purple background.
Input Text: The text currently entered into this prompt field is exactly identical to this entire descriptive prompt text itself.
Image Library: Below the input field. In the top-left corner of the library, a single generated image is displayed. This generated image is a recursive screenshot that is identical to the entire image generation interface itself.
Scene & Camera Angle: A dimly lit office at night with the lights turned off. The camera zooms in from a distance to capture a 1990s–2000s era PC monitor. The PC monitor occupies about half of the frame. The entire screen is tilted at an angle of 5 to 10 degrees along the X, Y, and Z axes. The image looks like a candid, poorly framed shot taken hastily after spotted while walking by, lacking any professional photography setup. The screen displays the following content: UI/UX Overview: A screenshot of an image generation AI platform with a minimalist design primarily featuring black, white, and purple. The aspect ratio of the interface is 4:3. The width ratio between the settings panel (sidebar) and the image generation library (main content area) is 1:5. Top Navigation Bar: Top-Left: A close button represented by an "X" inside a circle, used to return home. Top-Center: A simple, square icon representing image generation, with the text "Image Gen ∨" next to it. Top-Right: An icon resembling stacked coins drawn in green, with the current credit balance displayed next to it. To the right of the credits, there is a white horizontal ellipsis (three dots). The background color of these top navigation icons is black. Left Panel (Settings - 25% Width): This section controls the detailed settings for image generation. Each setting group (Quality, Dimensions, etc.) is arranged horizontally, and each element enclosed in quotation marks represents a button, visually separated inside a dark gray rounded rectangle. A help icon (a question mark inside a circle) is placed to the right of each section heading. Prompt Optimization: At the top, there is a setting indicating whether to auto-convert the prompt. A small gray text reading "Prompt Enhance" is located at the top-right of the icon, with white text reading "Auto" at the bottom-right, followed to the right by a "∨" dropdown arrow on the far right. Quality: A section heading in small white text. Below it are three quality options arranged horizontally from left to right: "Low", "Medium", and "High". Image Dimensions: A section heading in small white text for aspect ratio settings. Below it, four text labels are listed horizontally from left to right: "2:3", "1:1", "16:9", and "more". Above each label, a white rectangular frame visually represents the corresponding aspect ratio. The visual representation for "more" (other ratios) features a square smaller than the 1:1 ratio, with a small "+" mark overlapping its bottom-right corner. Resolution: Below the aspect ratios, there are resolution settings with white text labels: "Small", "Medium", and "Large". Below each label, the detailed pixel dimensions (width and height) are written in small gray text. Number of Images: A heading in white text indicating the output count. Below it, there are tabs to select the number of images: "1", "2", "3", "4", followed to the white "∨" dropdown arrow to select higher numbers. Privacy: A privacy setting heading in white text. To its right sits a toggle switch with a light gray background and a white slider thumb. Reset Button: At the bottom, a "⟲ Reset to defaults" button in white text spans about half the width of the settings panel. Right Panel (Prompt & Library - 75% Width): This section consists of the prompt input field and the generated image library. Top Configuration Tabs (Left): A tab for the AI model selection shows "GPT Image 2.0". The background of this entire tab features a light blue gradient with a large, translucent graphic that looks like it is made of light-green glass, mimicking the GPT logo. Top Configuration Tabs (Right): A tab for the image theme selection features a thick brush icon on the far left, followed to the right by the text "Dynamic". Both tabs feature a "∨" dropdown arrow on their right edge. Prompt Input Field: Located below the tabs. The latter half of the prompt text overflows the text area and is truncated with an ellipsis ("..."). Bottom-Left of the field: An "add image" tab featuring an image icon next to the word "add", immediately followed to the right by a prompt refinement/polishing icon. Right edge of the field: The required credit cost for generation is displayed as a simple number next to a stacked-coin icon. Next to it is the send/generate icon, which features a white paper airplane on a purple background. Input Text: The text currently entered into this prompt field is exactly identical to this entire descriptive prompt text itself. Image Library: Below the input field. In the top-left corner of the library, a single generated image is displayed. This generated image is a recursive screenshot that is identical to the entire image generation interface itself.

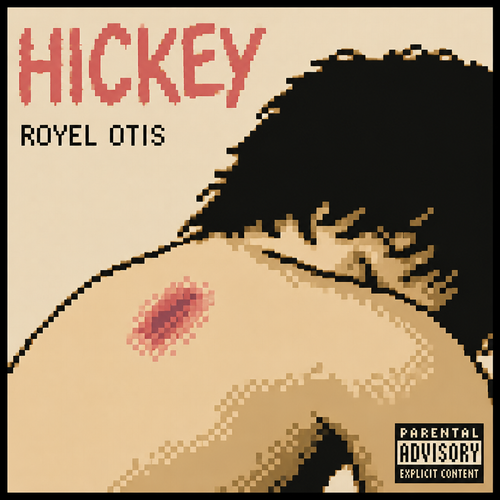
Album cover of the album Hickey by Royel Otis
Album cover of the album Hickey by Royel Otis

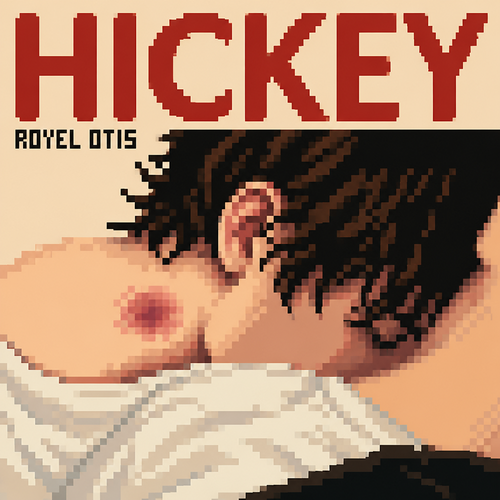
The real Album cover of the album Hickey by Royel Otis
The real Album cover of the album Hickey by Royel Otis

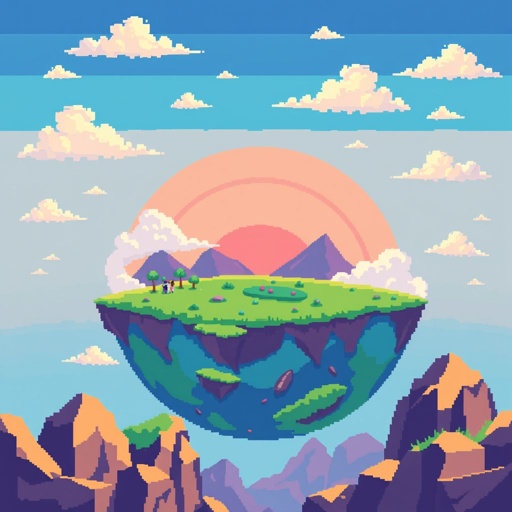
Flat earth
Flat earth

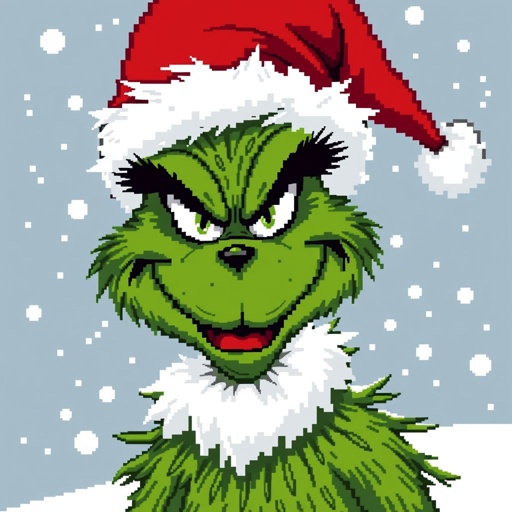
32x37 pixels of the grinch
32x37 pixels of the grinch

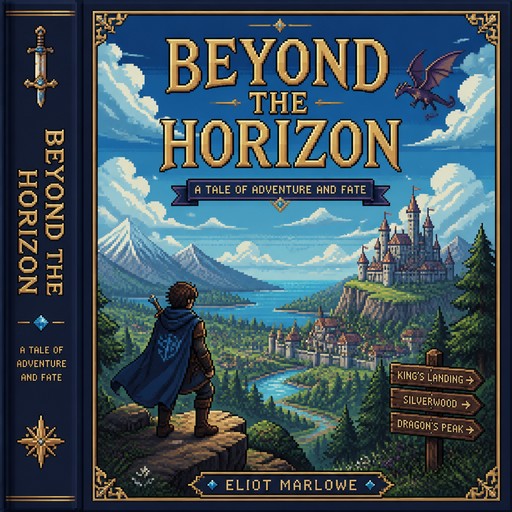
book cover

book cover

A llama that has yellow lines and blacks rectangles in between the lines and blue eyes
A llama that has yellow lines and blacks rectangles in between the lines and blue eyes

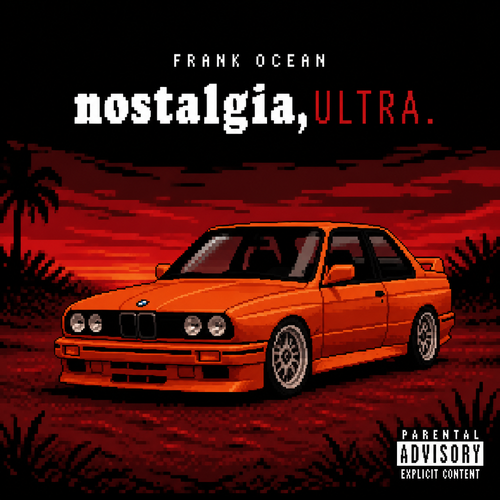
Octane album cover
Octane album cover

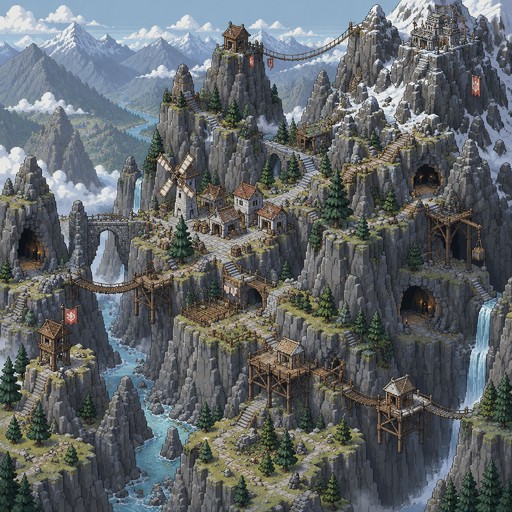
isometric pixel art of a mountain region with lots of crags and mountains, lots of differences in elevation, overall getting higher at the top right, small mountain settlement with a windmill, stilt structures built and rope bridges connecting a few of the peaks, entrances to a few caves,
isometric pixel art of a mountain region with lots of crags and mountains, lots of differences in elevation, overall getting higher at the top right, small mountain settlement with a windmill, stilt structures built and rope bridges connecting a few of the peaks, entrances to a few caves,

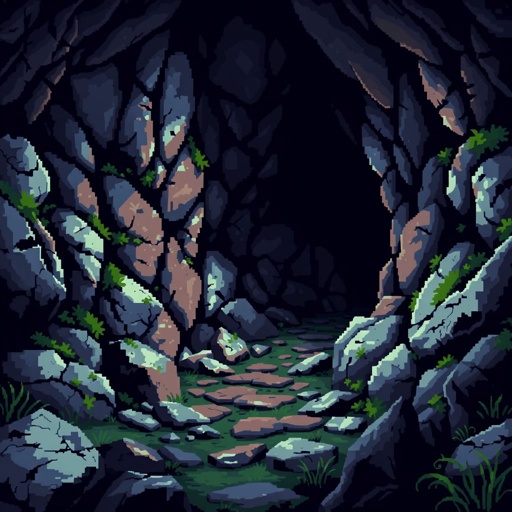
An old mineshaft cave from the outside

An old mineshaft cave from the outside